Add-ons don’t fail in retail because customers “don’t want stickers.” They fail because the program wasn’t designed like a program: unclear SKU roles, weak replenishment logic, messy component inventory, and no supplier controls to keep quality and compliance consistent.
If you’re a procurement or supply-chain owner supporting planners/notebooks (for retail, corporate gifting, or enterprise supply), planner accessories and sticker packs are one of the cleanest ways to increase basket size without taking on the risk of a full new category—as long as you build the add-on assortment with the same rigor you apply to your core program.
This guide is built for decision-stage readers: you’re ready to implement, and you need a framework you can run through procurement, quality, and merchandising—then use to evaluate OEM partners.
What “add-on program” actually means (and why it’s different from “more SKUs”)
A real add-on program has four traits:
A defined role for each add-on SKU (attach, trade-up, seasonal, corporate branding, impulse).
Merchandising rules (where it lives, what it sits next to, how it’s recommended online).
Replenishment and substitution logic (what happens when one component is out of stock).
Supplier and QC controls that prevent the most common failure mode: sample looks great; mass run doesn’t.
When those are in place, accessories and stickers can behave like “basket expanders” rather than “inventory you hope sells.”
Key Takeaway: Treat accessories and sticker packs as a governed program (roles + rules + replenishment + QC), not as a one-time creative drop.
The business case: why accessories and sticker packs are a high-leverage add-on
The upside is simple: add-ons increase the value of the transaction without asking the shopper to switch categories.
Bundling can lift average order value; Kladana’s 2025 overview of bundling cites an Omnia Retail example that bundles can increase AOV by up to 30% when executed with the right pricing and inventory controls (Kladana’s 2025 guide to product bundling and inventory tracking).
Small, lightweight add-ons can be replenished quickly and displayed in high-visibility locations (checkout zones, endcaps, or “complete the set” shelves).
For procurement, the more important point is risk:
Add-ons give you a structured way to increase basket size without expanding into high-return, high-defect product types.
They’re an efficient test bed for new designs/themes (because the unit cost is lower than full notebooks).
Step 1: Build your planner accessories and stickers add-on architecture
Before you pick designs, define the three layers of your add-on assortment.
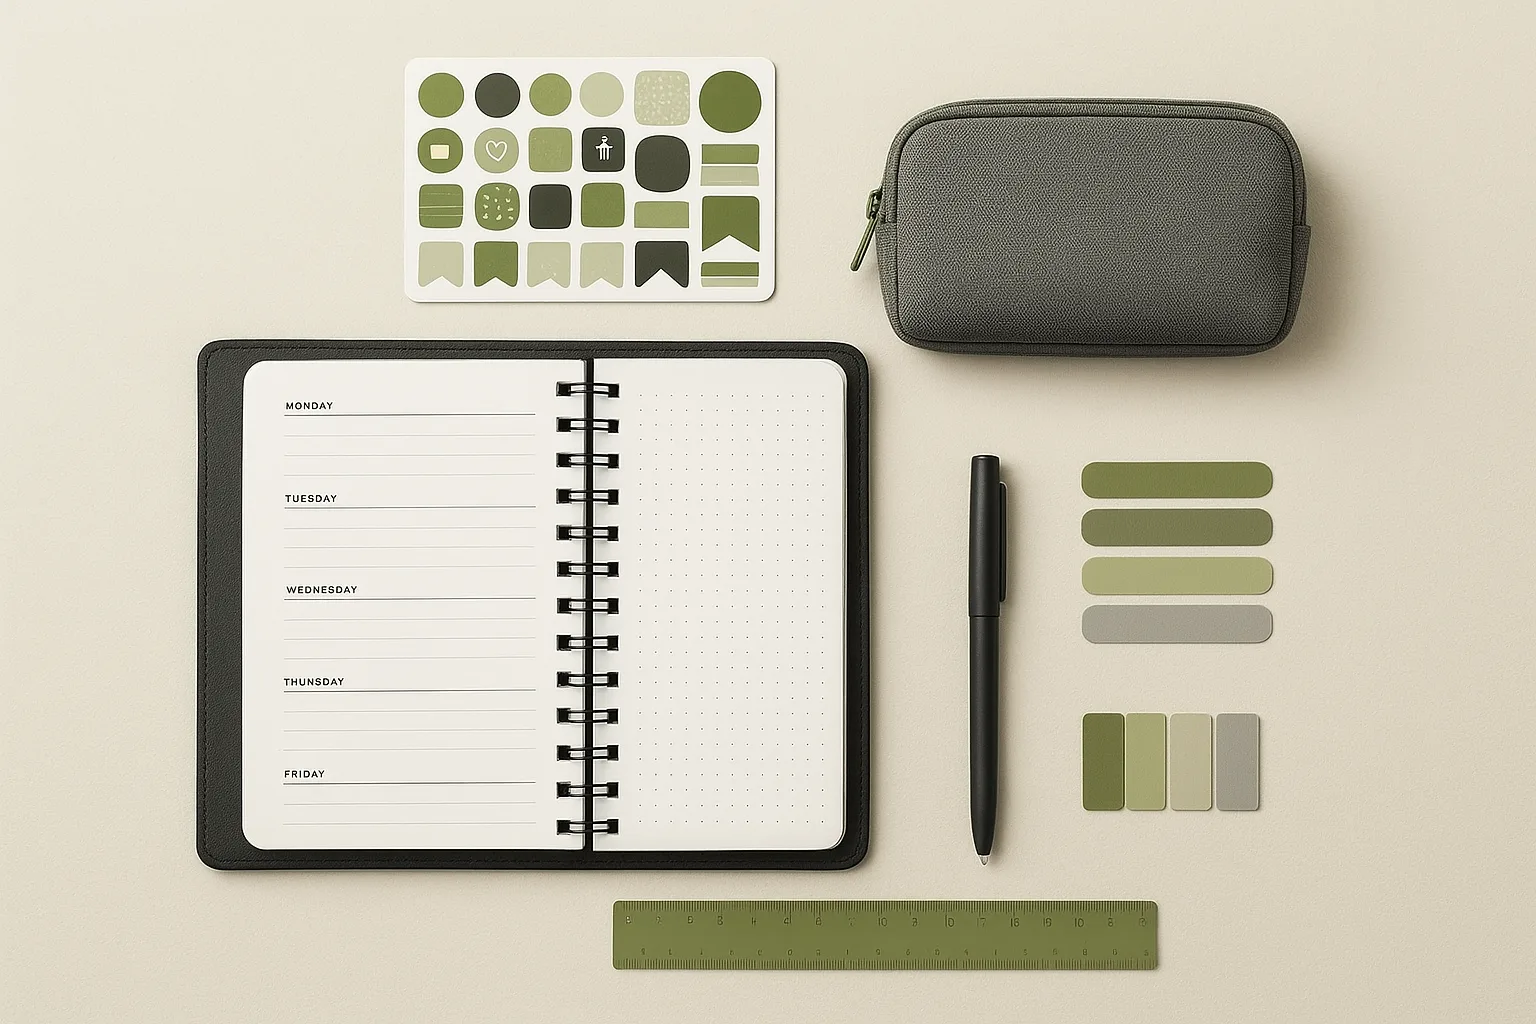
Layer A: Core “always-on” add-ons (replenishment-first)
These are the SKUs you can reorder year-round because demand is stable and seasonality risk is low.
Typical roles:
Functional sticker packs (date dots, habit trackers, appointment icons)
Indexing accessories (tabs, page flags, dividers)
Pen loop / elastic band / accessory pouch (durability matters)
Procurement note: core add-ons should be spec-stable (materials, adhesive, finish, pack count) to reduce changeovers and quality drift.
Layer B: Seasonal / event packs (traffic + excitement)
These are the SKUs tied to calendar spikes (New Year reset, back-to-school, holiday gifting). They exist to create a reason to buy now.
A practical way to reduce seasonal risk is to keep the base construction stable and change only:
artwork
colorway
packaging sleeve
That lets you reuse qualified materials and QC standards.
Layer C: “Program glue” SKUs (cross-sell anchors)
These are the add-ons designed specifically to attach to the core planner/notebook purchase.
Examples:
“Starter kit” packs sized to the planner format you sell most
“Work week pack” that maps to the planner’s weekly spread
“Project pack” with divider tabs + labeling stickers
The point is not novelty; it’s compatibility and ease.
Step 2: Align the add-on program to your planner strategy (dated vs. undated)
Accessories and sticker packs sell differently depending on whether your planner program is dated, undated, or mixed.
Lionpaper iStyle’s 2025 discussion of planner formats highlights a common retail reality: dated planners spike seasonally but carry higher markdown risk, while undated planners sell more steadily year-round—a tradeoff you can use to plan your add-on release calendar and replenishment rules (Lionpaper iStyle’s 2025 analysis of dated vs undated planners).
How to turn that into procurement decisions:
If your program is dated-heavy, bias your sticker program toward:
New Year goal-setting + habit tracking
back-to-school and mid-year reset themes
giftable packaging (because the sell window is tight)
If your program has a meaningful undated component, invest more in:
evergreen functional packs
modular “mix and match” sticker sheets
accessories with durable materials (pouches, dividers, tabs)
Operationally, undated planners also give you more flexibility to carry add-ons year-round—use that to protect margins.
Step 3: Design sticker packs and accessory SKUs that survive retail operations
Creativity sells the first order. Operations determines whether you get the second.
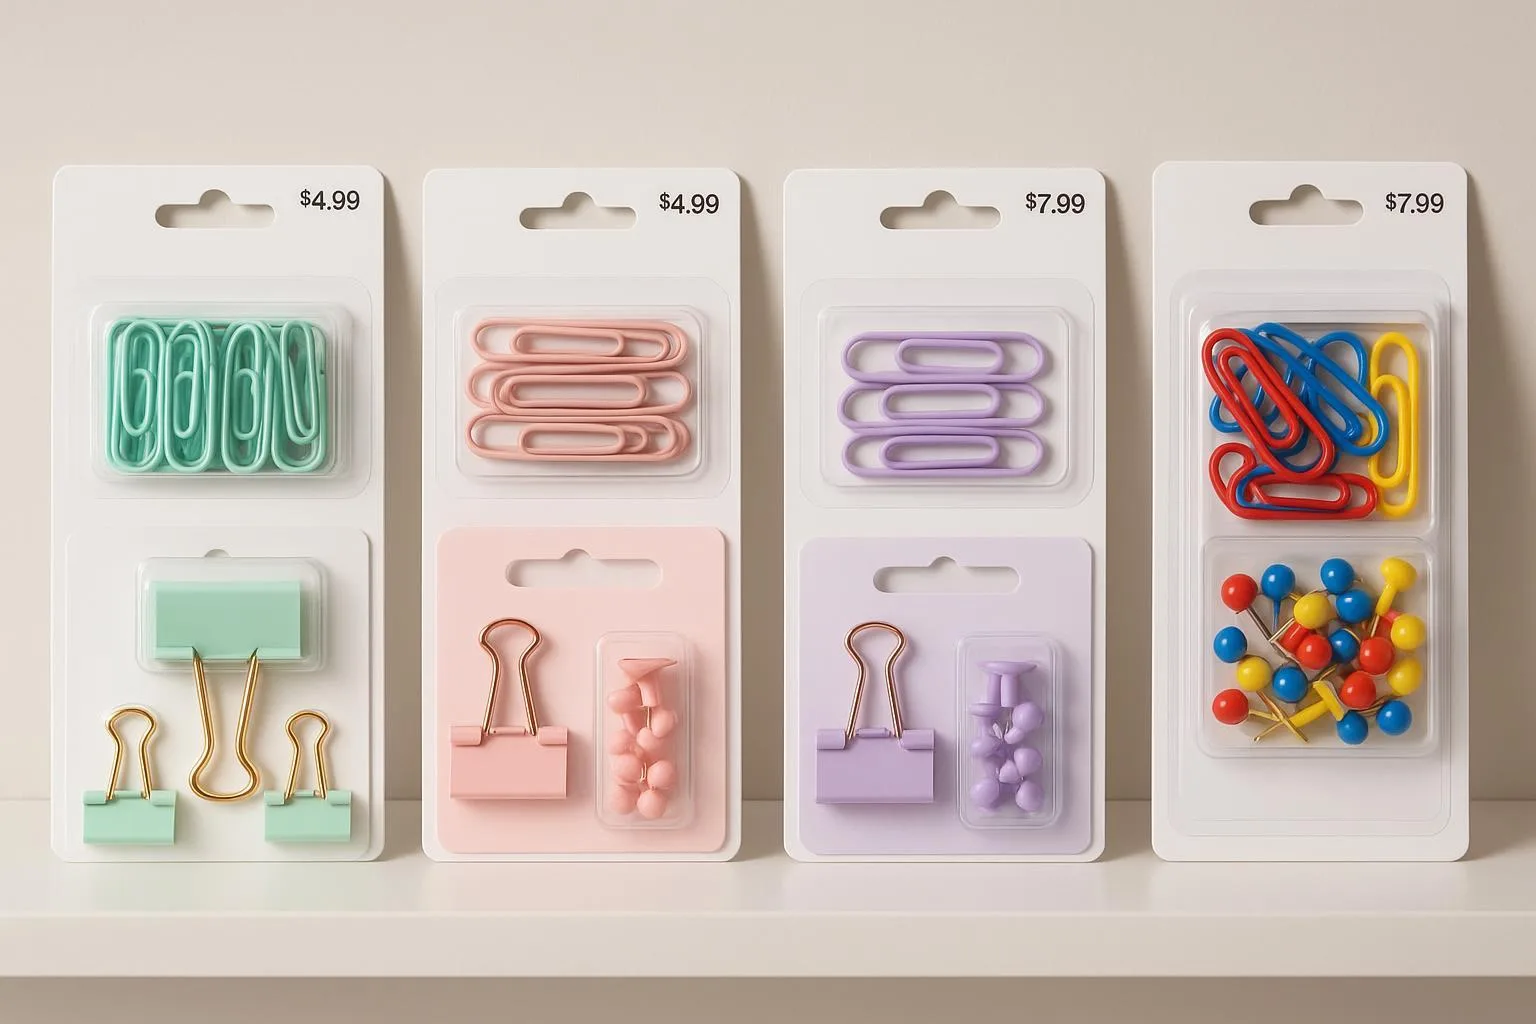
Sticker pack SKU design (what to standardize)
Standardize what affects operations and quality drift:
Pack format: sheet vs. die-cut singles vs. booklets
Pack count: e.g., 2-sheet, 4-sheet, 6-sheet tiers (easy price ladder)
Material + finish: matte vs. gloss; water resistance; writability
Adhesive behavior: removable vs. permanent (and residue tolerance)
Packaging: hang hole vs. shelf-ready, barcode placement, tamper evidence
Then vary what drives demand:
artwork/theme
colorway
seasonal sleeves
For program sourcing, you can start with existing sticker category options and inquiry flows, then develop custom planner sticker packs once specs are locked (sticker options).
Accessory SKU design (what buyers forget to specify)
Accessories are where quality claims get expensive—especially when you’re sourcing OEM planner accessories at scale.
If you sell pouches, bands, pen loops, or tab systems, specify:
material composition (fabric type, thickness, coating)
seam or bonding method
zipper grade (if applicable)
attachment method (adhesive, elastic, stitched, clip)
wear testing expectation (rub, pull, open/close cycles)
The goal is to avoid the quiet killer: a “minor” defect that triggers high return rates.
To see a baseline of accessory categories and start the program definition, use a clear category anchor like planner accessories.
⚠️ Warning: Sticker programs fail fastest on adhesive and finish. If you don’t specify removability, residue tolerance, and writability up front, you’ll end up with inconsistent lots that generate returns and brand damage.
Step 4: Make merchandising rules part of the program (not an afterthought)
You can design a perfect SKU set and still lose if shoppers never see it.
In-store: adjacency and planogram logic
If planners/notebooks live in one aisle and stickers live elsewhere, you’ve created a self-imposed attach-rate ceiling.
Practical placements that usually work:
next to planners (not “somewhere in stationery”)
endcap bundles during peak seasons
checkout / impulse zones for small sticker sheets
Even a small program benefits from a planogram mindset: allocate space based on role (core vs seasonal) and velocity.
Online: recommendation placement + inventory-aware rules
FastSimon’s merchandising guidance stresses two points that translate well to add-ons:
Put cross-sell recommendations where customers will actually see them—above the fold—and limit the set to 4–6 SKUs to reduce choice overload.
Use inventory-aware rules to prevent out-of-stock items from becoming dead ends (demote low stock, pin high-margin in-stock, show substitutions) (FastSimon’s 2025 merchandising rules for pin/boost/bury and out-of-stock handling).
For enterprise procurement, this is more than conversion rate—it reduces customer service contacts and protects the “always available” perception of the program.
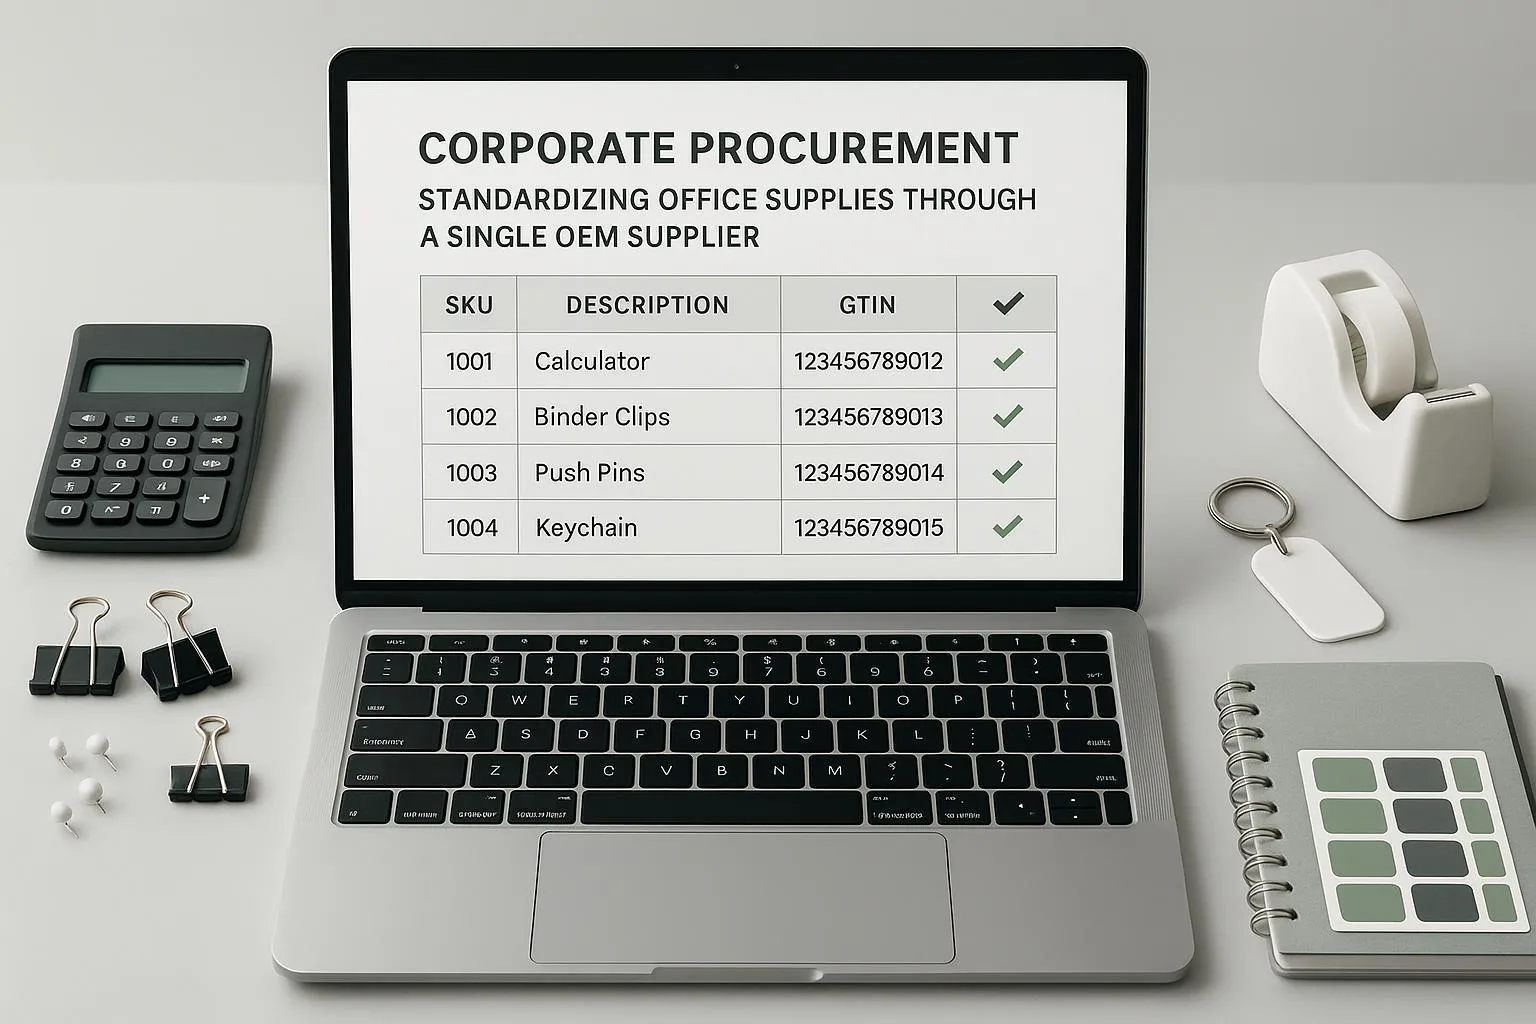
Step 5: Plan replenishment like a kit (because bundles create component risk)
Add-ons are small, but they create a real operational trap: component availability.
A “planner starter kit” bundle isn’t available if one sticker pack is out of stock.
Kladana’s bundling article flags the operational reality: if you don’t track component SKUs and keep stock synced, you can oversell bundles or break the customer experience. It also recommends automated or kit-based inventory logic to deduct components in real time (Kladana’s 2025 guide to product bundling strategy and inventory tracking).
For physical retail programs, translate that into three program controls:
Define a substitution rule (what replaces the out-of-stock component without changing the price tier).
Set a safety-stock threshold by component role:
core functional packs: higher safety stock
seasonal packs: lower safety stock + clear end-of-life
Align lead time and changeover windows with your peak season resets.
If you’re running enterprise distribution or corporate procurement, these rules matter even more because internal stakeholders expect stable replenishment and consistent item identity.
Step 6: Supplier evaluation framework for add-on programs (RFP-ready)
Decision-stage content should reduce risk. Here’s the evaluation framework you can use for OEM sticker and accessory programs.
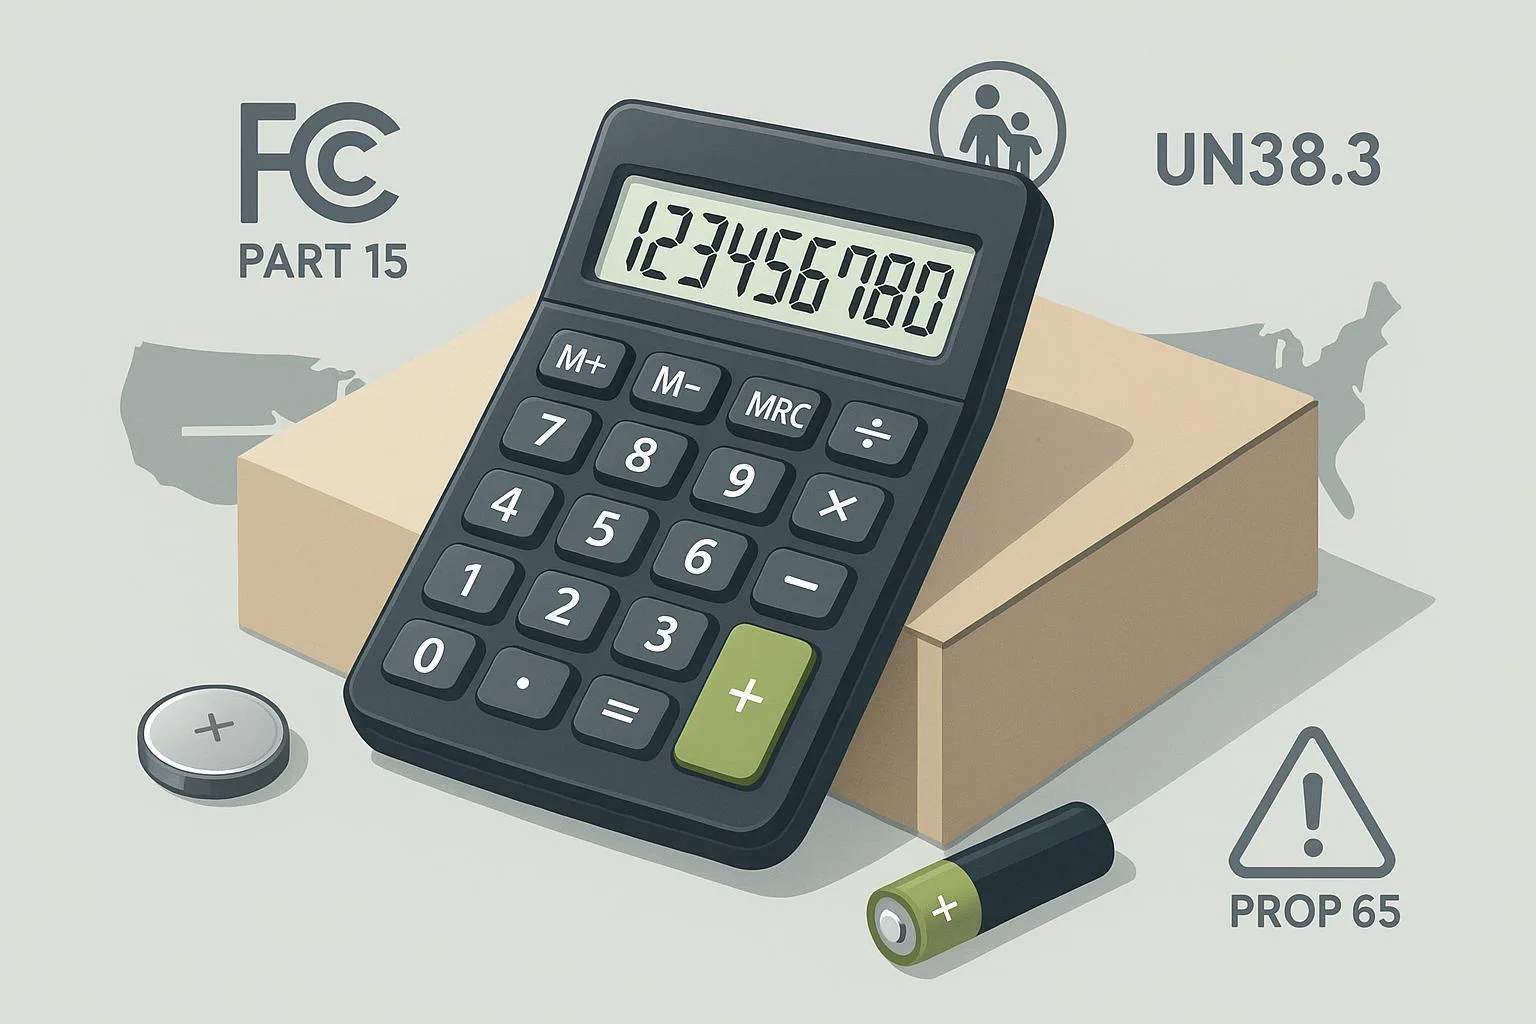
A) Compliance and audit readiness
Verify what matters to your organization and your retailers:
third-party audits (e.g., BSCI/SEDEX equivalents where relevant)
materials compliance (e.g., REACH for EU-bound SKUs)
sustainable materials claims (e.g., FSC for paper-based goods)
If your supplier positions itself as compliance-ready, ask for the compliance pack and the scope (which products, which materials, which factories).
On the manufacturing side, Shinyyou positions its program around broad stationery categories including planner products and add-ons, and frames OEM/ODM support and compliance on its main site and product concept pages (see theme collections and OEM/ODM concepts).
B) Sample-to-mass consistency controls (the non-negotiable)
Your QA plan should answer:
What is the pre-production sample approval flow?
What is the material lock process (adhesive, paper, film, coatings)?
What are the in-line and final inspection checkpoints?
How are defects categorized (critical/major/minor) and what’s the acceptable AQL?
For stickers, add these controls:
peel test consistency
residue tolerance
curl/warp tolerance (especially for coated sheets)
C) MOQ, lead time, and the “true cost” conversation
Enterprise buyers get burned when MOQ and lead time are treated as single numbers.
Ask for:
MOQ by SKU type (core vs seasonal)
MOQ by pack format (sheet vs booklet)
lead time by stage (sampling, pre-production, production, shipping)
changeover impact (new artwork only vs new materials)
Also ask for the total cost breakdown:
unit price
packaging and labeling
testing/compliance costs (if applicable)
logistics assumptions
D) IP and artwork protection
For custom packs:
clarify who owns the dielines and artwork
confirm how files are stored and who has access
specify whether any subcontracting is permitted
E) Packaging, barcode, and shelf readiness
If the packaging can’t survive retail operations, the product won’t either.
Confirm:
barcode type and placement
hang hole requirements
anti-theft or tamper needs
pack labeling requirements (country of origin, materials, warnings)
Epos Now’s 2025 overview of assortment planning emphasizes the operational reality of assortments: you’re choosing products “at the right time, in the right place,” and SKU-level performance drives rationalization decisions (Epos Now’s 2025 overview of assortment strategy and SKU rationalization). Packaging is part of that “right place” equation.
Step 7: A practical 30/60/90-day rollout plan
Days 0–30: Define program specs + shortlist suppliers
finalize the add-on architecture (core/seasonal/glue)
lock sticker pack formats and accessory spec sheets
create a substitution rule for each bundle tier
issue an RFQ/RFP packet (specs + compliance + QC expectations)
Days 31–60: Sampling + QC validation
approve pre-production samples against measurable checks
run basic handling tests (peel/residue, writability, wear)
confirm packaging/barcode readiness
agree on inspection checkpoints and defect thresholds
Days 61–90: Launch + measure
launch with defined merchandising placements and online recommendation rules
track program KPIs weekly:
attach rate (planner → add-on)
average order value / average transaction value
sell-through by role (core vs seasonal)
out-of-stock rate and substitution rate
defect rate and return reasons
Pro Tip: Don’t let the first reorder be “based on vibes.” Make role-based reorder rules (core replenishes; seasonal exits) and stick to them for one full cycle.
Next steps: build the program with an OEM partner (without inflating risk)
If you’re implementing an add-on program and want to move quickly while keeping compliance and delivery stable, start with category baselines and then layer customization once specs are locked:
Browse planner add-on categories like planner accessories and sticker options to define your initial SKU roles.
If your program includes both dated and undated planners, align formats and replenishment logic using an OEM program perspective such as this guide on choosing a custom planner manufacturer in China.
Light CTA (procurement-friendly): If you’d like, share your target price ladder, target MOQ, and the channels you’ll sell through (retail, corporate procurement, or both). Shinyyou can respond with a spec-first proposal (materials, QC checkpoints, compliance scope) and a sample plan before you commit to a full program.